How to Record Internal Audio on a Mac
You hit record in QuickTime Player, play the thing you wanted to capture, and get back silence. Or worse, you get your own breathing picked up by the built-in microphone. This is the single most common macOS audio complaint, and it is not something you configured wrong.
macOS has never shipped a user-facing way to record the sound it is playing. That is still true in macOS 26 Tahoe: neither QuickTime Player nor the Command-Shift-5 screen recorder lists system audio as a capture source. Both offer your microphone and nothing else.
What has changed is the fix. Until recently, every method required installing a virtual audio driver into macOS. That is no longer the case, and if the last guide you read told you to install Soundflower, it is out of date by about a decade.
What Changed: Core Audio Process Taps
In macOS 14.4, Apple added a Core Audio API called a process tap. It lets an app capture audio directly from another running app, or from the entire system, without any driver in between.
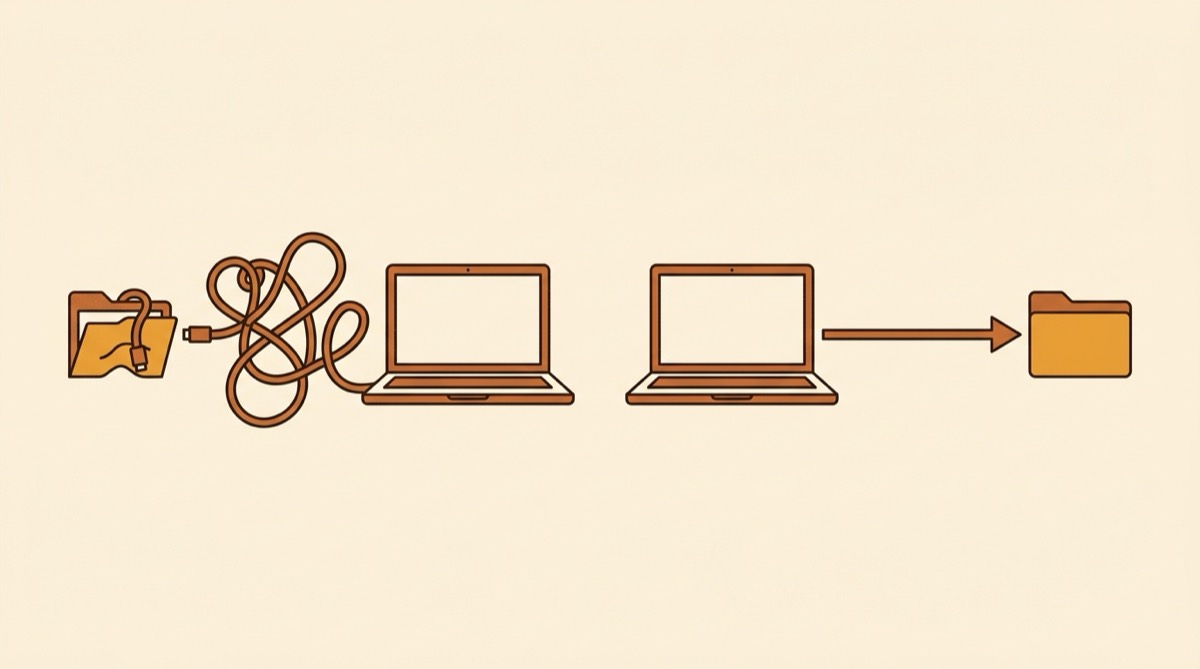
This matters because the old approach was genuinely awkward. A virtual audio driver works by impersonating a pair of speakers: you point your Mac’s output at the fake speakers, the driver hands that audio to your recording app, and then you have to build a Multi-Output Device so the sound also reaches your real speakers and you can still hear it. Every step is a place to get stuck.
A process tap skips all of it. Nothing is installed into the system, there is no admin password, and there is no restart. macOS asks for a recording permission once and that is the whole setup.
Why macOS Blocks This in the First Place
Apple treats one app reading another app’s audio as a privacy boundary, and reasonably so. Unrestricted system audio capture would mean any app could quietly record your FaceTime calls, your bank’s one-time-passcode read aloud, or a private voice note.
So the capability sits behind a permission rather than being disabled outright. In macOS 26 Tahoe this shows up in System Settings under Privacy and Security as Screen and System Audio Recording, and an app has to appear there before it can capture anything.
The gap is that Apple built the plumbing and never shipped the faucet. QuickTime Player, Voice Memos, and the Screenshot toolbar all predate this and none of them were updated to offer system audio. Third-party apps have to fill the gap.
Method 1: Soundshine Record (no driver, $14.99)
Soundshine Record is built on process taps, so there is nothing to install into macOS.
- Download Soundshine Record and drag it to Applications.
- Open it. It asks for the system audio recording permission once. Approve it.
- Pick your sources. Choose All System Audio, or select individual apps by name. Add a microphone alongside either one if you want your voice in the same file.
- Press record.
Each source gets its own volume slider and level meter, and you can rebalance the mix while the recording runs, which matters when a guest turns out to be much quieter than you. Passthrough monitoring lets you hear the mix as it records, with captured apps routed through the app instead of your speakers so nothing doubles or echoes.
Files land in ~/Music/SoundshineRecord (or a folder you pick) as AAC .m4a at 256 kbps by default, or as uncompressed WAV or AIFF, all at 48 kHz stereo.
It needs macOS 15 or later, because process taps are recent. The trial is fully functional and adds a quiet chime every 30 seconds; $14.99 one time removes it, with no subscription.
Method 2: BlackHole (free, 20 to 40 minutes of setup)
BlackHole is a free, open-source virtual audio driver, and it is the honest recommendation if your budget is zero. It is signed, notarized, actively maintained, and runs on both Apple Silicon and Intel.
- Download and install BlackHole from existential.audio.
- Open Audio MIDI Setup from Spotlight.
- Click + at the bottom left and choose Create Multi-Output Device.
- Check both BlackHole 2ch and your real output (Built-in Speakers or your headphones).
- In System Settings > Sound, set that Multi-Output Device as your output.
- In your recording app, choose BlackHole 2ch as the input.
- Record.
Two things reliably catch people out. If you skip the Multi-Output Device, your speakers go silent the moment you switch output to BlackHole, because all the audio is going into the driver and nowhere else. And when you finish, your system output stays on the Multi-Output Device until you manually set it back, which is why your Mac sometimes sounds wrong the next morning.
Worth knowing: BlackHole captures everything at once. It has no concept of recording one app, because by the time audio reaches a virtual output device it has already been mixed together.
Method 3: OBS (free, heavier)
OBS is free and open source, and since OBS 28 on macOS 13 Ventura or later it can capture system audio through Apple’s ScreenCaptureKit without any virtual driver. OBS 30 added a dedicated macOS Audio Capture source that grabs either all desktop audio or a single application.
- Install OBS.
- Add a source: macOS Audio Capture (or macOS Screen Capture with audio enabled on older builds).
- Grant the screen recording permission when prompted, then restart OBS.
- Set your output format under Settings > Output.
- Click Start Recording.
OBS is a genuinely capable free option and it does per-app capture. The catch is that it is a broadcast suite: it records to video containers by default, the audio-only path takes configuration, and the interface assumes you are building a stream. If you already run OBS, use it. If you opened it for the first time to capture a two-minute clip, it will feel like a lot.
Method 4: Audio Hijack ($69)
Audio Hijack from Rogue Amoeba is the long-standing professional option, and it is very good. You build a signal chain on a canvas, dropping in sources, effects, meters, and recorders, and it handles complex setups that nothing else touches.
At $69 it costs more than the other options here, and the pipeline model is more machinery than most people need to capture a podcast off a browser tab. If you want per-app capture with EQ, silence-splitting, and scheduled recordings, it earns the price. If you want a file with the sound in it, it is a lot of app.
Comparing the Four
| Cost | Driver install | Per-app capture | Setup time | |
|---|---|---|---|---|
| Soundshine Record | $14.99 | None | Yes | Under a minute |
| BlackHole | Free | Yes, plus Multi-Output | No | 20 to 40 min |
| OBS | Free | None (macOS 13+) | Yes | 10 to 20 min |
| Audio Hijack | $69 | None | Yes | 5 to 15 min |
Which Recording App to Pair With a Driver
If you went the BlackHole route, you still need something to record into.
QuickTime Player is already installed. Use File > New Audio Recording, click the chevron next to the record button, and pick your input. Fine for quick captures, exports M4A, no editing.
Audacity is free and the right call for anything longer or anything you need to trim. Note that Audacity cannot capture system audio by itself on macOS, which is exactly why its own manual points you at a loopback tool first.
GarageBand is free and already on most Macs. Better than QuickTime if you want to mix or edit afterwards.
Voice Memos records from whatever input is set as the system default, so you have to change your input in System Settings first. Minimal control.
Which One Should You Use
If you want to be recording in the next minute and per-app capture sounds useful, use Soundshine Record. No driver, no Multi-Output Device, no restart.
If your budget is strictly zero and you do not mind one careful setup session, use BlackHole. It works and it keeps working.
If OBS is already open on your second monitor, just add an audio capture source there.
The thing worth taking away: the advice to install a virtual audio driver is a workaround for a limitation Apple lifted in macOS 14.4. It still works, and there are good reasons to use it, but on a current Mac it is no longer the only way in.
For the wider picture, including microphone recording and screen capture, see our guide to recording audio on a Mac.
Frequently Asked Questions
Can macOS record internal audio without extra software?
No. As of macOS 26 Tahoe, neither QuickTime Player nor the built-in screen recorder (Command-Shift-5) offers system audio as a capture option. Both can record your microphone only. Apple provides the APIs that make system audio capture possible, but ships no app that exposes it to you.
How do I record internal audio on a Mac for free?
BlackHole is a free, open-source virtual audio driver. Install it, create a Multi-Output Device in Audio MIDI Setup so you can still hear your speakers, set that as your system output, then record from BlackHole in QuickTime or Audacity. Budget 20 to 40 minutes for the first setup.
Do I still need a virtual audio driver to record system audio?
Not since macOS 14.4. Apple added Core Audio process taps, an API that lets an app capture audio directly from other apps or the whole system. Apps built on it, including Soundshine Record, record system audio with nothing installed into macOS, no admin password, and no restart.
Why does my Mac screen recording have no sound?
Because the built-in recorder captures microphone input only, never system audio. If you recorded a video with the mic off, you get silence. If you recorded with the mic on, you get the room instead of the app you were trying to capture.
Does recording system audio on a Mac reduce the quality?
No. A process tap or a virtual driver copies the digital audio stream before it reaches your speakers, so there is no analog stage and no quality loss. Soundshine Record writes 48 kHz stereo, as AAC at 256 kbps or as uncompressed WAV or AIFF.
Record it in one file instead
Soundshine Record captures all your system audio, or just the apps you pick, plus your microphone, with per-source volume and no virtual driver to install.
Need both apps? Get Route and Record for $19.99